₹9,200.
That was the number staring back at me from the electricity bill last June. It wasn’t just high. It was insulting. I remember sitting at the kitchen table, sweating—partly because of the heat, mostly because I was afraid to turn on the AC.
That afternoon, I stopped complaining and started digging.
I didn’t want a “green planet.” I wanted a zero bill. That is when I stumbled onto the solar panel yojana (specifically the PM Surya Ghar scheme). It sounded too good to be true. Free electricity? Money in my bank account?
So, I tried it. And it was messy.
If you are looking for a textbook definition of government schemes, leave now. But if you want to know how I used the solar panel yojana to drop my bill to literally zero (and the stupid mistakes I made along the way), keep reading.
What Is the Solar Panel Yojana Really?
Let’s cut the jargon.
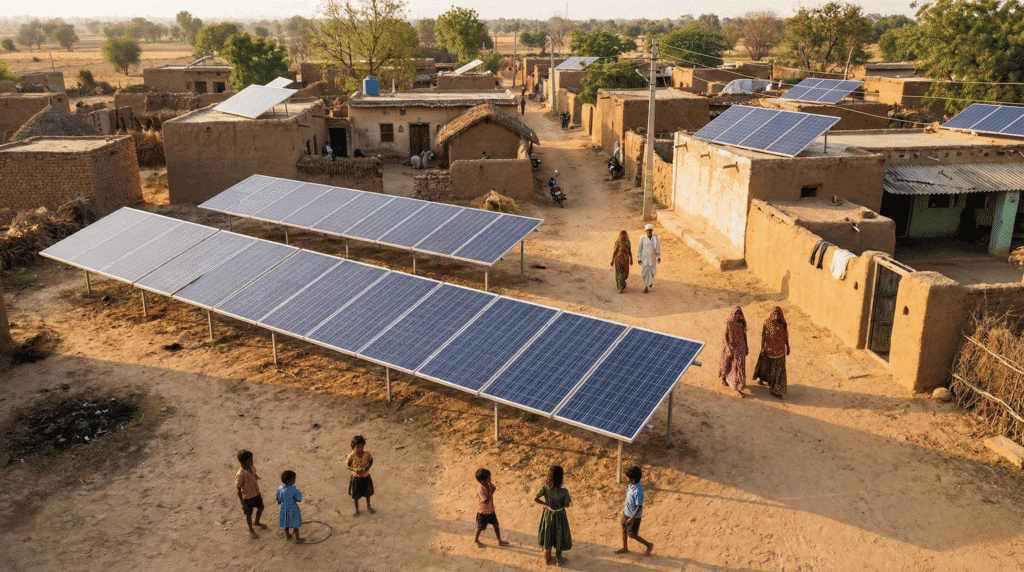
When people search for the solar panel yojana, they are usually looking for the PM Surya Ghar: Muft Bijli Yojana. The government launched this to get solar panels on 1 crore houses.
Why? Because India is hot, and coal is expensive.
Here is the deal. You buy the system, the government pays a huge chunk of the cost (subsidy), and you get up to 300 units of free electricity every month.
But there is a catch.
You cannot just buy panels from Amazon and stick them on your roof. I almost did that. It would have cost me the entire subsidy. The rules are strict, and if you miss one step, your application gets rejected.
![Image Placeholder: A homeowner checking their electricity meter after installing solar panel yojana setup. Alt Text: Homeowner smiling at zero bill after using solar panel yojana subsidy]
The ₹78,000 Math: How Much Do You Actually Get?
The subsidy isn’t random. It’s calculated based on capacity. When I applied for the solar panel yojana, I thought, “I’ll just get the biggest one.”
Wrong move.
The subsidy caps out. Here is the breakdown effective for 2026:
- 1 kW System: You get ₹30,000.
- 2 kW System: You get ₹60,000.
- 3 kW System (and above): You get ₹78,000.
My mistake? I initially planned for a 5 kW system. The vendor told me I’d get more subsidy. He was lying. Whether you install 3 kW or 10 kW, the government only gives you ₹78,000 max.
I settled for a 3 kW system. Total cost was around ₹1.4 Lakh. After the ₹78,000 subsidy, I paid roughly ₹62,000 out of pocket.
For a system that wipes out my bill for 25 years? That is a steal.
Who Is Eligible for Solar Panel Yojana? (Don’t Skip This)
I have a friend, Rahul. He tried to apply for the solar panel yojana for his rented apartment.
Rejection came in 24 hours.
To qualify, you need to check these boxes:
- Ownership: You must own the house (or have the landlord’s explicit legal permission, which is rare).
- Roof Space: You need about 100 sq. ft. of shadow-free area per 1 kW.
- Electricity Connection: The meter must be in your name.
- No Previous Subsidy: If you got a solar subsidy in the last few years, you are out.
My “Vendor Nightmare” Story
This is where I almost lost my money.
The solar panel yojana requires you to use “Empanelled Vendors.” These are companies registered with your local DISCOM (electricity board).
I found a guy locally who offered to do it cheap. “Cash discount,” he said.
I asked him for his DISCOM registration number. He stuttered. He didn’t have one.
Crucial Warning: If you use an unregistered vendor, you get zero subsidy. The portal won’t even let you upload the documents. Always check the official list on pmsuryaghar.gov.in before handing over a single rupee.
I eventually went with a Tata Power-certified vendor. It cost ₹5,000 more, but the paperwork was flawless.
How to Apply (The “Lazy” Way)
Don’t overthink this. The process for the solar panel yojana is entirely online now.
- Register: Go to the portal. Enter your Consumer Number (from your bill).
- Feasibility Check: The DISCOM checks if the local transformer can handle your solar export. (Took 3 days for me).
- Install: Call the vendor. They set up the panels.
- Net Meter: This is the magic device. It counts what you take from the grid vs. what you give back.
- Subsidy: Once the DISCOM inspects the system, you upload a cancelled cheque.
Pro Tip: My subsidy hit my bank account in 35 days. The government says 30 days, so it was pretty close.
![Image Placeholder: Screenshot of the official portal for solar panel yojana registration. Alt Text: Official portal interface for solar panel yojana application]
The “Hidden” Benefit: Net Metering Credits
This is the part nobody talks about.
In winter, I don’t use AC. My solar panels produce more electricity than I use.
What happens to that extra power? It goes back to the grid. The solar panel yojana includes a “Net Metering” provision. The electricity board actually gives me credits for that extra power.
Last December, I had a credit balance of ₹400. I didn’t pay a bill; I carried that credit forward to use in May when the heat returns. It’s like a savings account, but for electricity.
Is It Worth It?
Look, I’m skeptical of free things. Usually, there are strings attached.
But my bill went from ₹9,200 to negative ₹150 (meter rent only) in four months.
The solar panel yojana isn’t perfect. The paperwork is boring, and waiting for the Net Meter installation took two weeks of calling the engineer. But when I look at my roof now, I don’t see glass panels. I see an asset that pays me every morning the sun comes up.
If you are on the fence, get off it. The subsidy rules change every year.
Here is my challenge to you: Go find your latest electricity bill. Look at the unit consumption. If it’s over 150 units, why are you still paying for it?